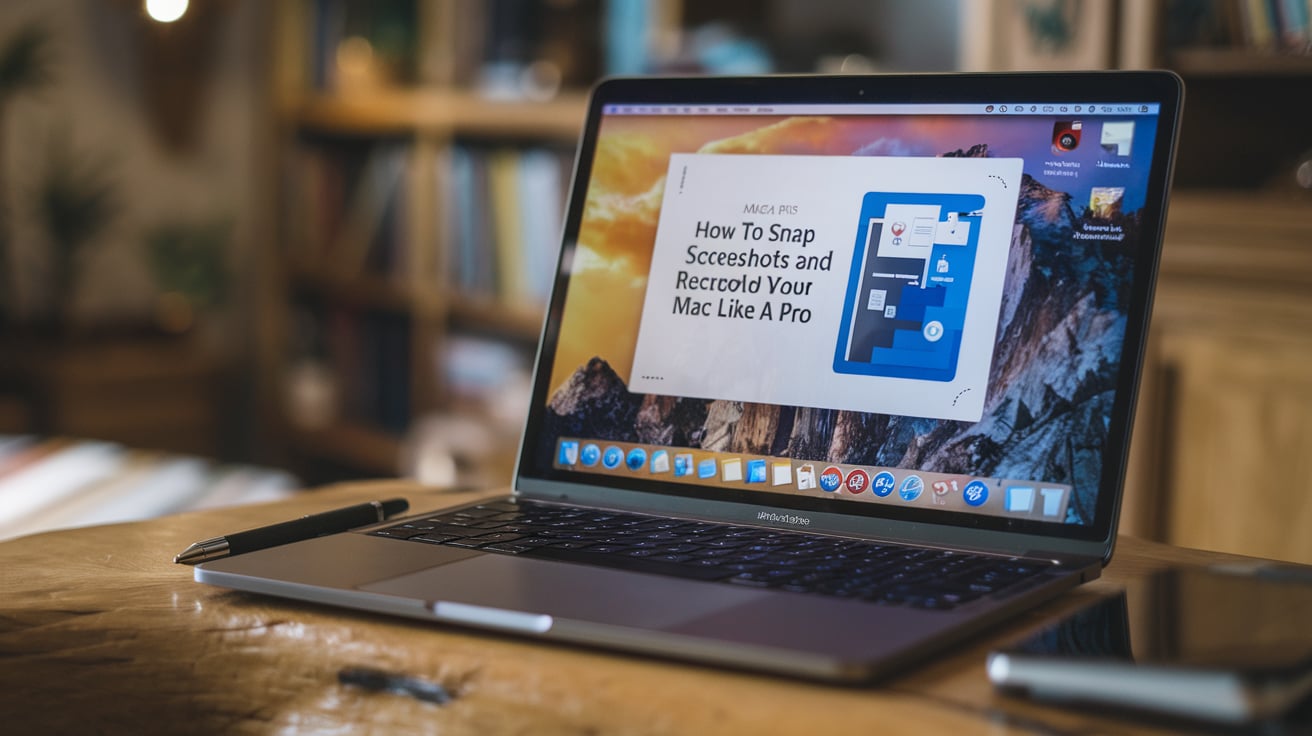
In today’s world, grabbing a quick screenshot or recording your screen on a Mac is a total game-changer. Whether I’m showing a friend how to fix something, saving a funny moment, or troubleshooting a glitch for work, these tricks have saved me more times than I can count. Macs make it super easy with built-in tools, and once you know the shortcuts, you’ll wonder how you ever lived without them. Here’s my rundown of the best ways to capture and record on your Mac—let’s dive in!
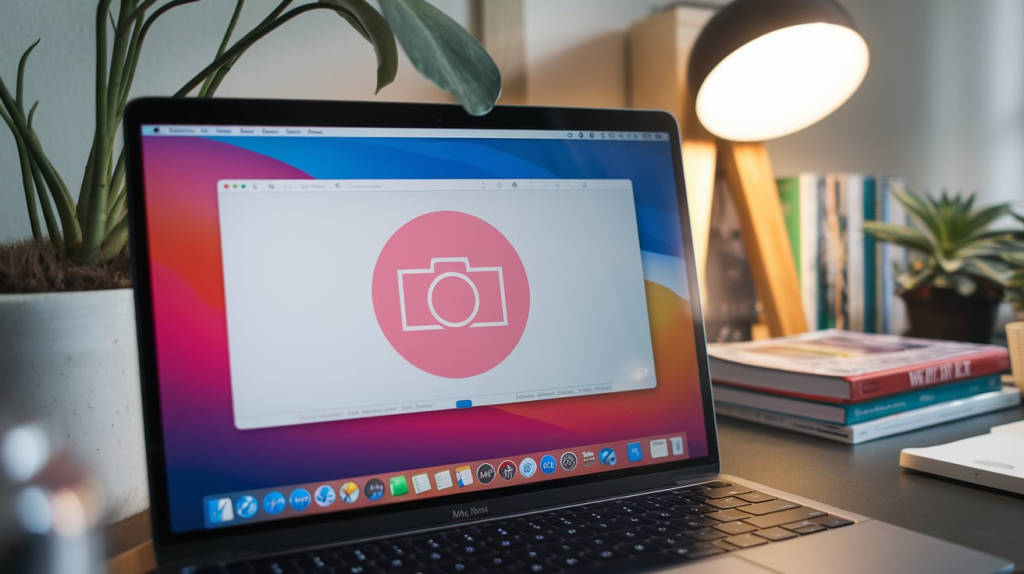
1. Snagging Screenshots
a. Grab the Whole Screen
Want everything on your display in one shot? Just hit Command (⌘) + Shift + 3 at the same time. You’ll hear a little camera snap sound, and boom—it’s a .PNG file chilling on your desktop. I use this all the time when I need to share my entire setup with someone.
b. Pick Just a Chunk
Sometimes I only need part of the screen—like a weird error message. Press Command (⌘) + Shift + 4, and your cursor turns into a crosshair. Click, drag over what you want, and let go. Another snap, and it’s saved on your desktop. It’s perfect for zooming in on the good stuff without the clutter.
c. Snap a Window or Menu
For a clean shot of just one window or dropdown, hit Command (⌘) + Shift + 4, then tap the Spacebar. Your cursor switches to a camera icon—click the window or menu you’re after, and it’s yours, saved as a .PNG. I love this for grabbing app interfaces without extra junk.
2. Recording Your Screen
a. QuickTime Player—Old School but Solid
QuickTime’s already on your Mac, so it’s a no-brainer. Open it from the Applications folder, hit File > New Screen Recording, and click the red button. You can record the whole screen or drag to pick a section. Hit “Start Recording,” do your thing, then stop it when you’re done. Save it wherever you like—I’ve used this for quick how-to videos for friends.
b. Shortcut Magic with Command + Shift + 5
Press Command (⌘) + Shift + 5, and a slick toolbar pops up. You’ve got two recording options: “Record Entire Screen” or “Record Selected Portion.” Pick one, follow the prompts to start, and click the stop button in the menu bar when you’re finished. It saves as a .MOV on your desktop—easy peasy. I started using this instead of QuickTime because it’s faster.
c. Fancy Third-Party Apps
Want more bells and whistles? Apps like ScreenFlow or Snagit from the Mac App Store are next-level. They’ve got editing tools, overlays, and pro features built in. I tried ScreenFlow once for a work demo—pricey, but the polish was worth it. Download one, follow its guide, and you’re rolling.
3. Extra Hacks to Level Up
a. Tweak Your Settings
That Command + Shift + 5 toolbar? It’s got an “Options” button where you can mess with stuff. Change where files save (I switched mine to a “Screenshots” folder), pick a format, or add a timer delay—handy if you need a sec to set up. It’s all about making it work for you.
b. Edit Like a Boss
Once you’ve got your screenshot or video, open it in Preview (it’s free on your Mac) to tweak it. I’ll crop out distractions or scribble notes on screenshots before sending them off. For recordings, you can trim the boring bits—keeps it snappy.
c. Share the Goods
Captured something cool? Email it, toss it in Messages, or upload it to iCloud or Dropbox. I’ve shared screen grabs with my team in seconds—no fuss, just results.
Wrapping It Up
Mastering screenshots and recordings on your Mac is like unlocking a superpower. Whether it’s a quick snap with Command + Shift + 3 or a full recording with the toolbar, these tools make life smoother. I’ve gone from fumbling around to nailing it in seconds—productivity boost unlocked. Play with these methods, find your faves, and you’ll be sharing like a pro in no time.

Quick Q&A
How do I pull up the screenshot toolbar? Hit Command (⌘) + Shift + 5—it’s your control center for captures and recordings.
Can I change where stuff saves? Yup—in the toolbar, click “Options” and pick a new spot.
How do I grab just part of the screen? Command + Shift + 4, then drag over what you want. Done.
What about a single window? Add the Spacebar after Command + Shift + 4, then click it.
How do I record with QuickTime? Open it, pick “New Screen Recording” from File, and hit start/stop.
Can I edit after? Totally—Preview’s great for quick fixes on screenshots or videos.
Any app upgrades out there? Check ScreenFlow or Snagit for fancy features—pricey but powerful.

